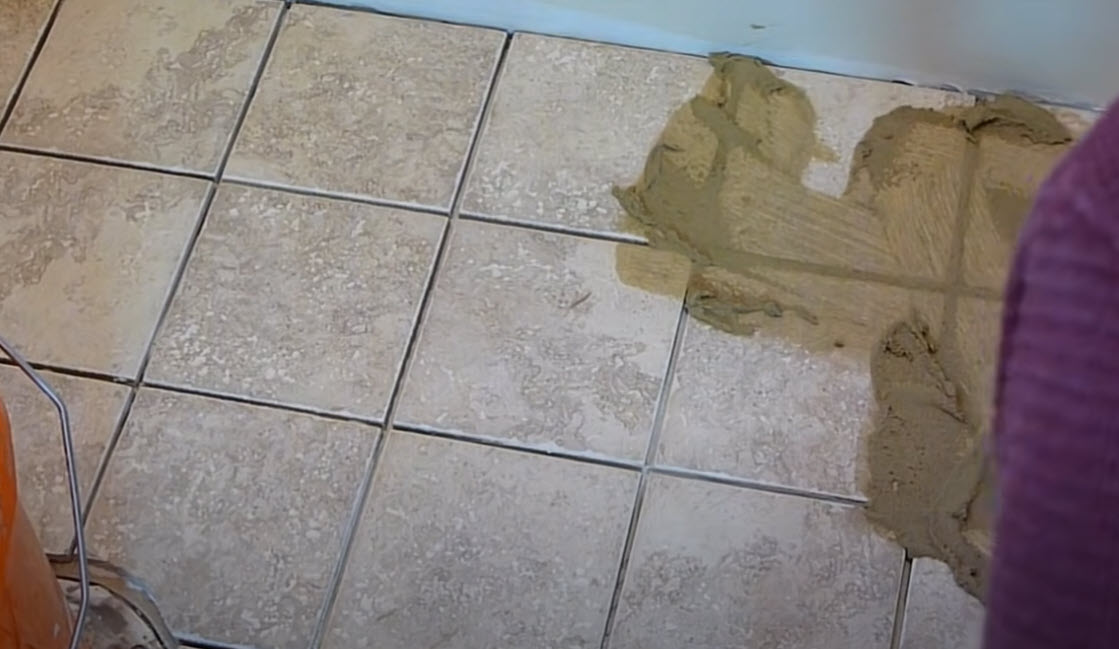
Tiles are a timeless classic when it comes to bathroom flooring, and even walls because of its immense durability. However, the same cannot be said for grouts. These tiny crevices usually get dirty quicker than any other parts of your bathroom. And if the grouts look dirty, the tiles tend to look dirty too.
Grout is used as spacing between the tiles to bind them together, prevent chipping or cracking, and it keeps out water from seeping underneath the tiles. It is a combination of cement, sand, and water. Given its composition, this mixture is porous and it absorbs liquids very easily.
Not only that, this spacing between the tiles also accumulate dirt, grime, and sometimes, even nasty molds. And although the grout do not usually make up much of the bathroom, they are most noticeable when dirty. And sometimes, the grout may not be even dirty – it only looks like it is because it has absorbed liquids that make it look dirty.
How to Clean Tough Grout Stains
Grout–especially light-colored ones–needs to be deep cleaned every four to six months for it to stay looking like new. However, in extreme cases where the grout is in such a bad state because it was neglected for a long time, the only remedy may be to re-grout.
Fortunately, more often than not, old grout can be salvaged and renewed as there are myriads of ways to clean your old grout such as the following techniques:
Method 1: Baking Soda, Ammonia and Vinegar
This mixture uses household chemicals that are safe and easily accessible. The combination proves to be effective when combined with thorough scrubbing.
You will need:
- 7 cups of warm water
- 1/2 cup of baking soda
- 1/3 cup of ammonia
- 1/4 cup of vinegar
- Large bucket
- Stirring rod
- Sponge or spray bottle
- Small brush or old toothbrush
- Towel or rug
- Wipe the tiles and grouts to make sure it is clean and free from other debris.
- Fill a bucket with warm water, then add the baking soda, ammonia, and vinegar. Stir to combine.
- Dip a sponge into the mixture and apply a liberal amount of the cleaner mixture to the grout. Alternatively, you could also use a spray bottle. Then, allow the mixture to sit for several minutes.
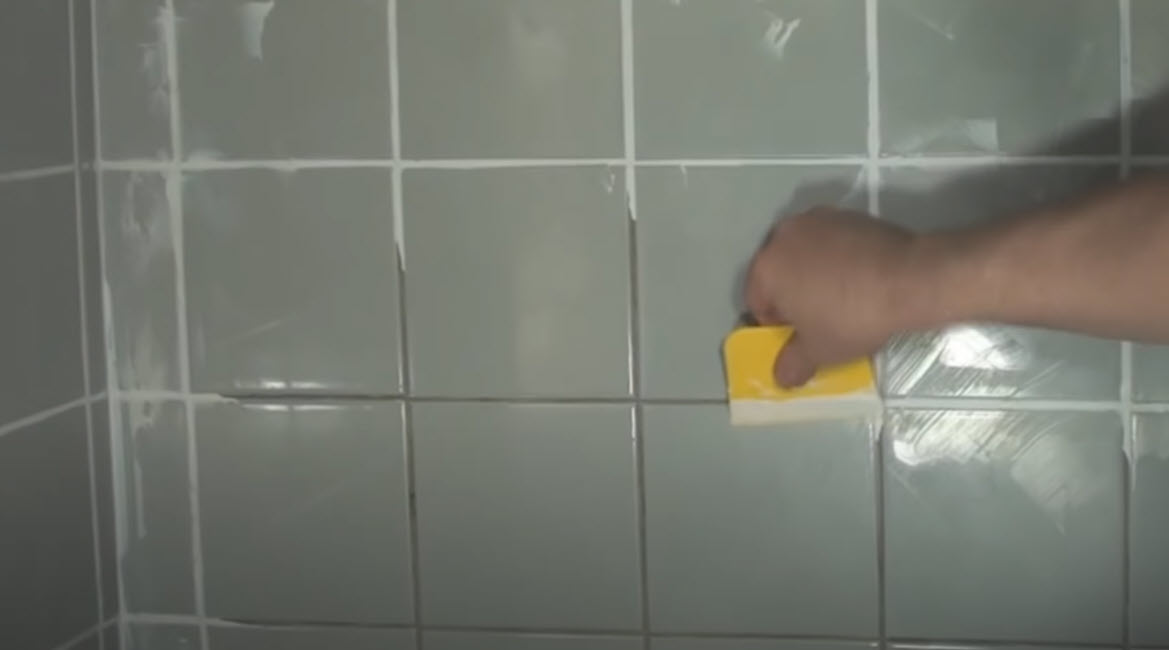
- Using a small brush or old toothbrush, scrub the grout with all your might. If the grout still does not come clean easily after relentless scrubbing, apply more of the homemade mixture and allow it to sit for another hour.
- Scrub the grout again until it comes out clean.
- Rinse the treated area and wipe dry with a towel or rag.
- To keep it clean for longer, apply a high-quality grout sealer after the tiles and grouts completely dries.
Method 2: Lemon Juice or White Vinegar
If you want to opt for cleaners that are not harsh chemicals, use lemon juice or white vinegar. Both of these chemicals are mild disinfectants that get rid of grout stains naturally.
You will need:
- 1 cup Lemon juice or white vinegar
- Small brush or old toothbrush
- Towel or rug
- Wipe the tiles and grouts to make sure it is clean and free from other debris.
- Pour lemon juice or white vinegar and let it saturate the dirty grout lines.
- Allow the lemon juice or vinegar to sit for 10 to 15 minutes.
- Then, scrub the area with a small brush or old toothbrush.
- Repeat steps 1 to 4 as often as necessary until the dirty stains are gone.
- Rinse the treated area and wipe it dry with a towel or rag.
- To keep it clean for longer, apply a high-quality grout sealer after the tiles and grouts completely dries.
Method 3: Oxygen Bleach
You will need:
- 2 gallons of warm water
- 3 tablespoons powdered oxygen bleach
- 2 gallon bucket
- Spray bottle
- Small brush or old toothbrush
- Towel or rug
- Wipe your grout lines with a rag and make sure it is clean and dry before proceeding to any steps.
- Combine warm water and powdered oxygen bleach in the bucket.
- Mix it together until the oxygen bleach powder dissolves, then pour it in a spray bottle. This non-toxic, fabric-safe cleaner removes grease and stains with minimal scrubbing.
- Spray or pour the solution onto the dried grout until it floods the grout lines.
- Allow the mixture to sit for at least 15 minutes. Take note that the longer you wait, the better your results will be. The oxygen ions in the bleach will continue working for up to six hours.
- If you notice that the grout has completely soaked up the cleaning solution at any point, apply more.
- Once soaking time is up, scrub the grout with a small brush or old toothbrush.
- Rinse the treated area and wipe dry with a towel or rag.
- To keep it clean for longer, apply a high-quality grout sealer after the tiles and grouts completely dries.
Method 4: Steam Cleaners
Steam cleaners are the power tools that are effective for cleaning stubborn grout dirt. They make quick work of an otherwise tedious job that requires a lot of scrubbing. Steam cleaners heat water to more than 200 degrees Fahrenheit, then directly blast the steam out the nozzle and onto the grout.
The nozzles can also hold special nylon or brass brushes made specifically for grout cleaning, so you can scrub while you steam.
You will need:
- Broom and mop
- Steam cleaner with grout brush attachments
- Sponges or rags
- Clean the tile by sweeping away the dirt, grit, and excess gunk that will only hamper your steam-cleaning efforts. For floor tiles, sweep and damp-mop the tile. For walls, sponge-clean the tiles, using a mild detergent, if desired, then rinse.
- Set up the steam cleaner by filling it with water. Then turn on the unit and set it to steam, as directed by the manufacturer. Wait for a few minutes as the steamer creates the steam.
- Attach the hose to the steam cleaner then choose an appropriate brush for the size of y◘our grout and the type of tile. As a general rule, it is best to start with a nylon-bristle brush, which is effective on most grout and will not damage the tile. If necessary, you can use a brass-bristle brush for stubborn dirt. Just know that brass brushes may damage some types of tile.
- Turn on the steam with the recommended rate of spray. Scrub the grout directly with vigorous back-and-forth strokes. If you are cleaning walls, work from the top, down to the bottom.
- After scrubbing for some time, rinse and/or mop or sponge of each cleaned section. It is important to clean up the dirty water before it settles back into the grout and dries.
- Refill and reheat the steamer as needed, and continue the same process until the job is complete.
- Finally, give it a final cleaning with a damp mop. Then dry it with a rag.
- To keep it clean for longer, apply a high-quality grout sealer after the tile grout completely dries.
Also read this article “Smart Living: Top 5 Modern Ideas for Your Smart Bathroom“
How to Keep Your Tiles Clean
Depending on the quality and finish of your tiles (glazed vs unglazed), maintaining clean tiles is not that hard. Modern tiles are made with a glazed finish that keeps it glossy while protecting the stone beneath. If your tiles are not glazed, it would be a bit harder to maintain it.
As such, it is best to apply some sealant for durability and easier cleaning.
Ceramic tiles, on the other hand, do not have high porosity. This means that it is not easy to stain as long as you clean the mess within a reasonable amount of time. Meanwhile, granite tiles are highly porous, which means they stain easily.
Hence, you have to quickly clean the area to prevent staining. Lastly, porcelain, which is among the most popular tile materials, has low porosity like ceramic tiles, which means it also does not stain easily.
To clean your tiles, simply:
- Clean up loose debris via sweeping or vacuuming it.
- Clean the tile with mild detergent and water using a rag or chamois-type mop. Be sure to change the water frequently while mopping because using dirty water will result in a murky, cloudy floor.
- If you find any discoloration, scrub it with a rag soaked in mild cleaners.
- Dry the tiles using a rug or mop. Do not let your glazed tile floors air-dry as the sitting water will form water spots.
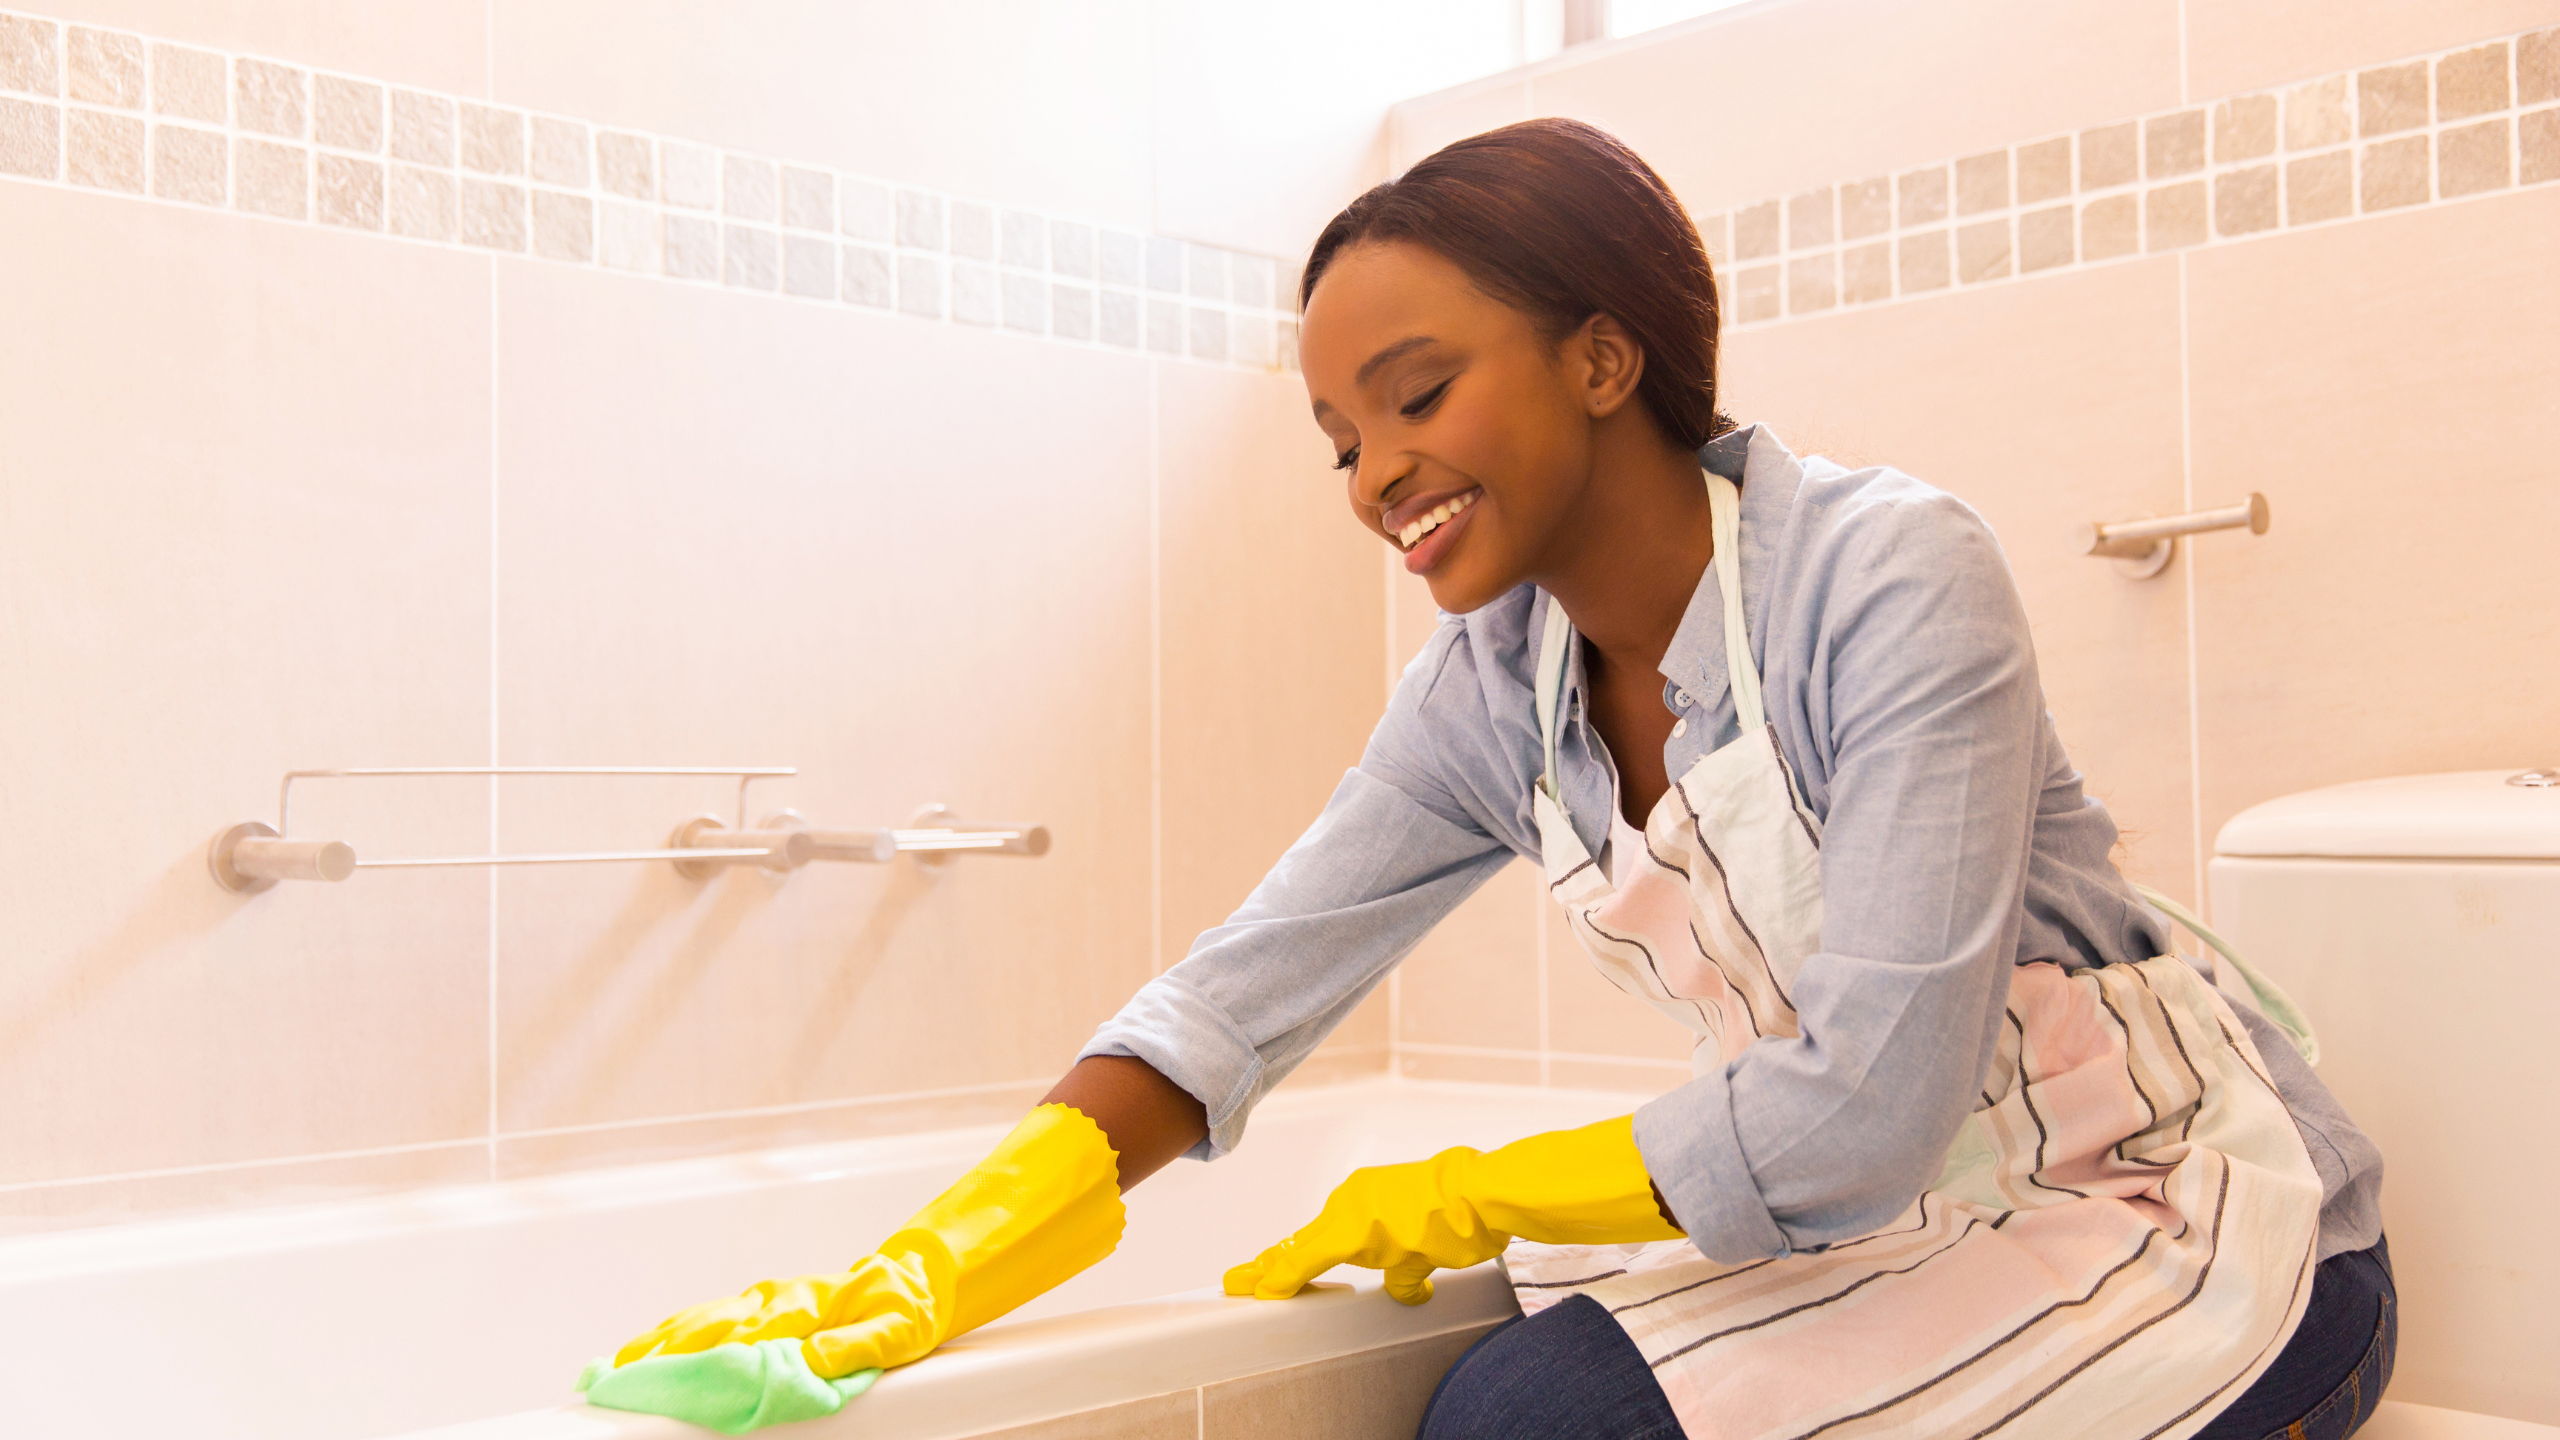
While the mentioned steps in cleaning and maintaining the tiles and grout lines are easy enough for a DIY project, nothing beats the work of professionals. If you do not have time to spare or you simply want to leave the job to the experts, feel free to contact us and we will make sure to make every inch of your tiles and grout lines gleaming and sparkly clean.
JW Toms River Tub Reglazing & Refinishing provides professional refinishing services that can instantly freshen up your bathroom’s appearance without draining your bank account.
Call us at 848-227-9003.