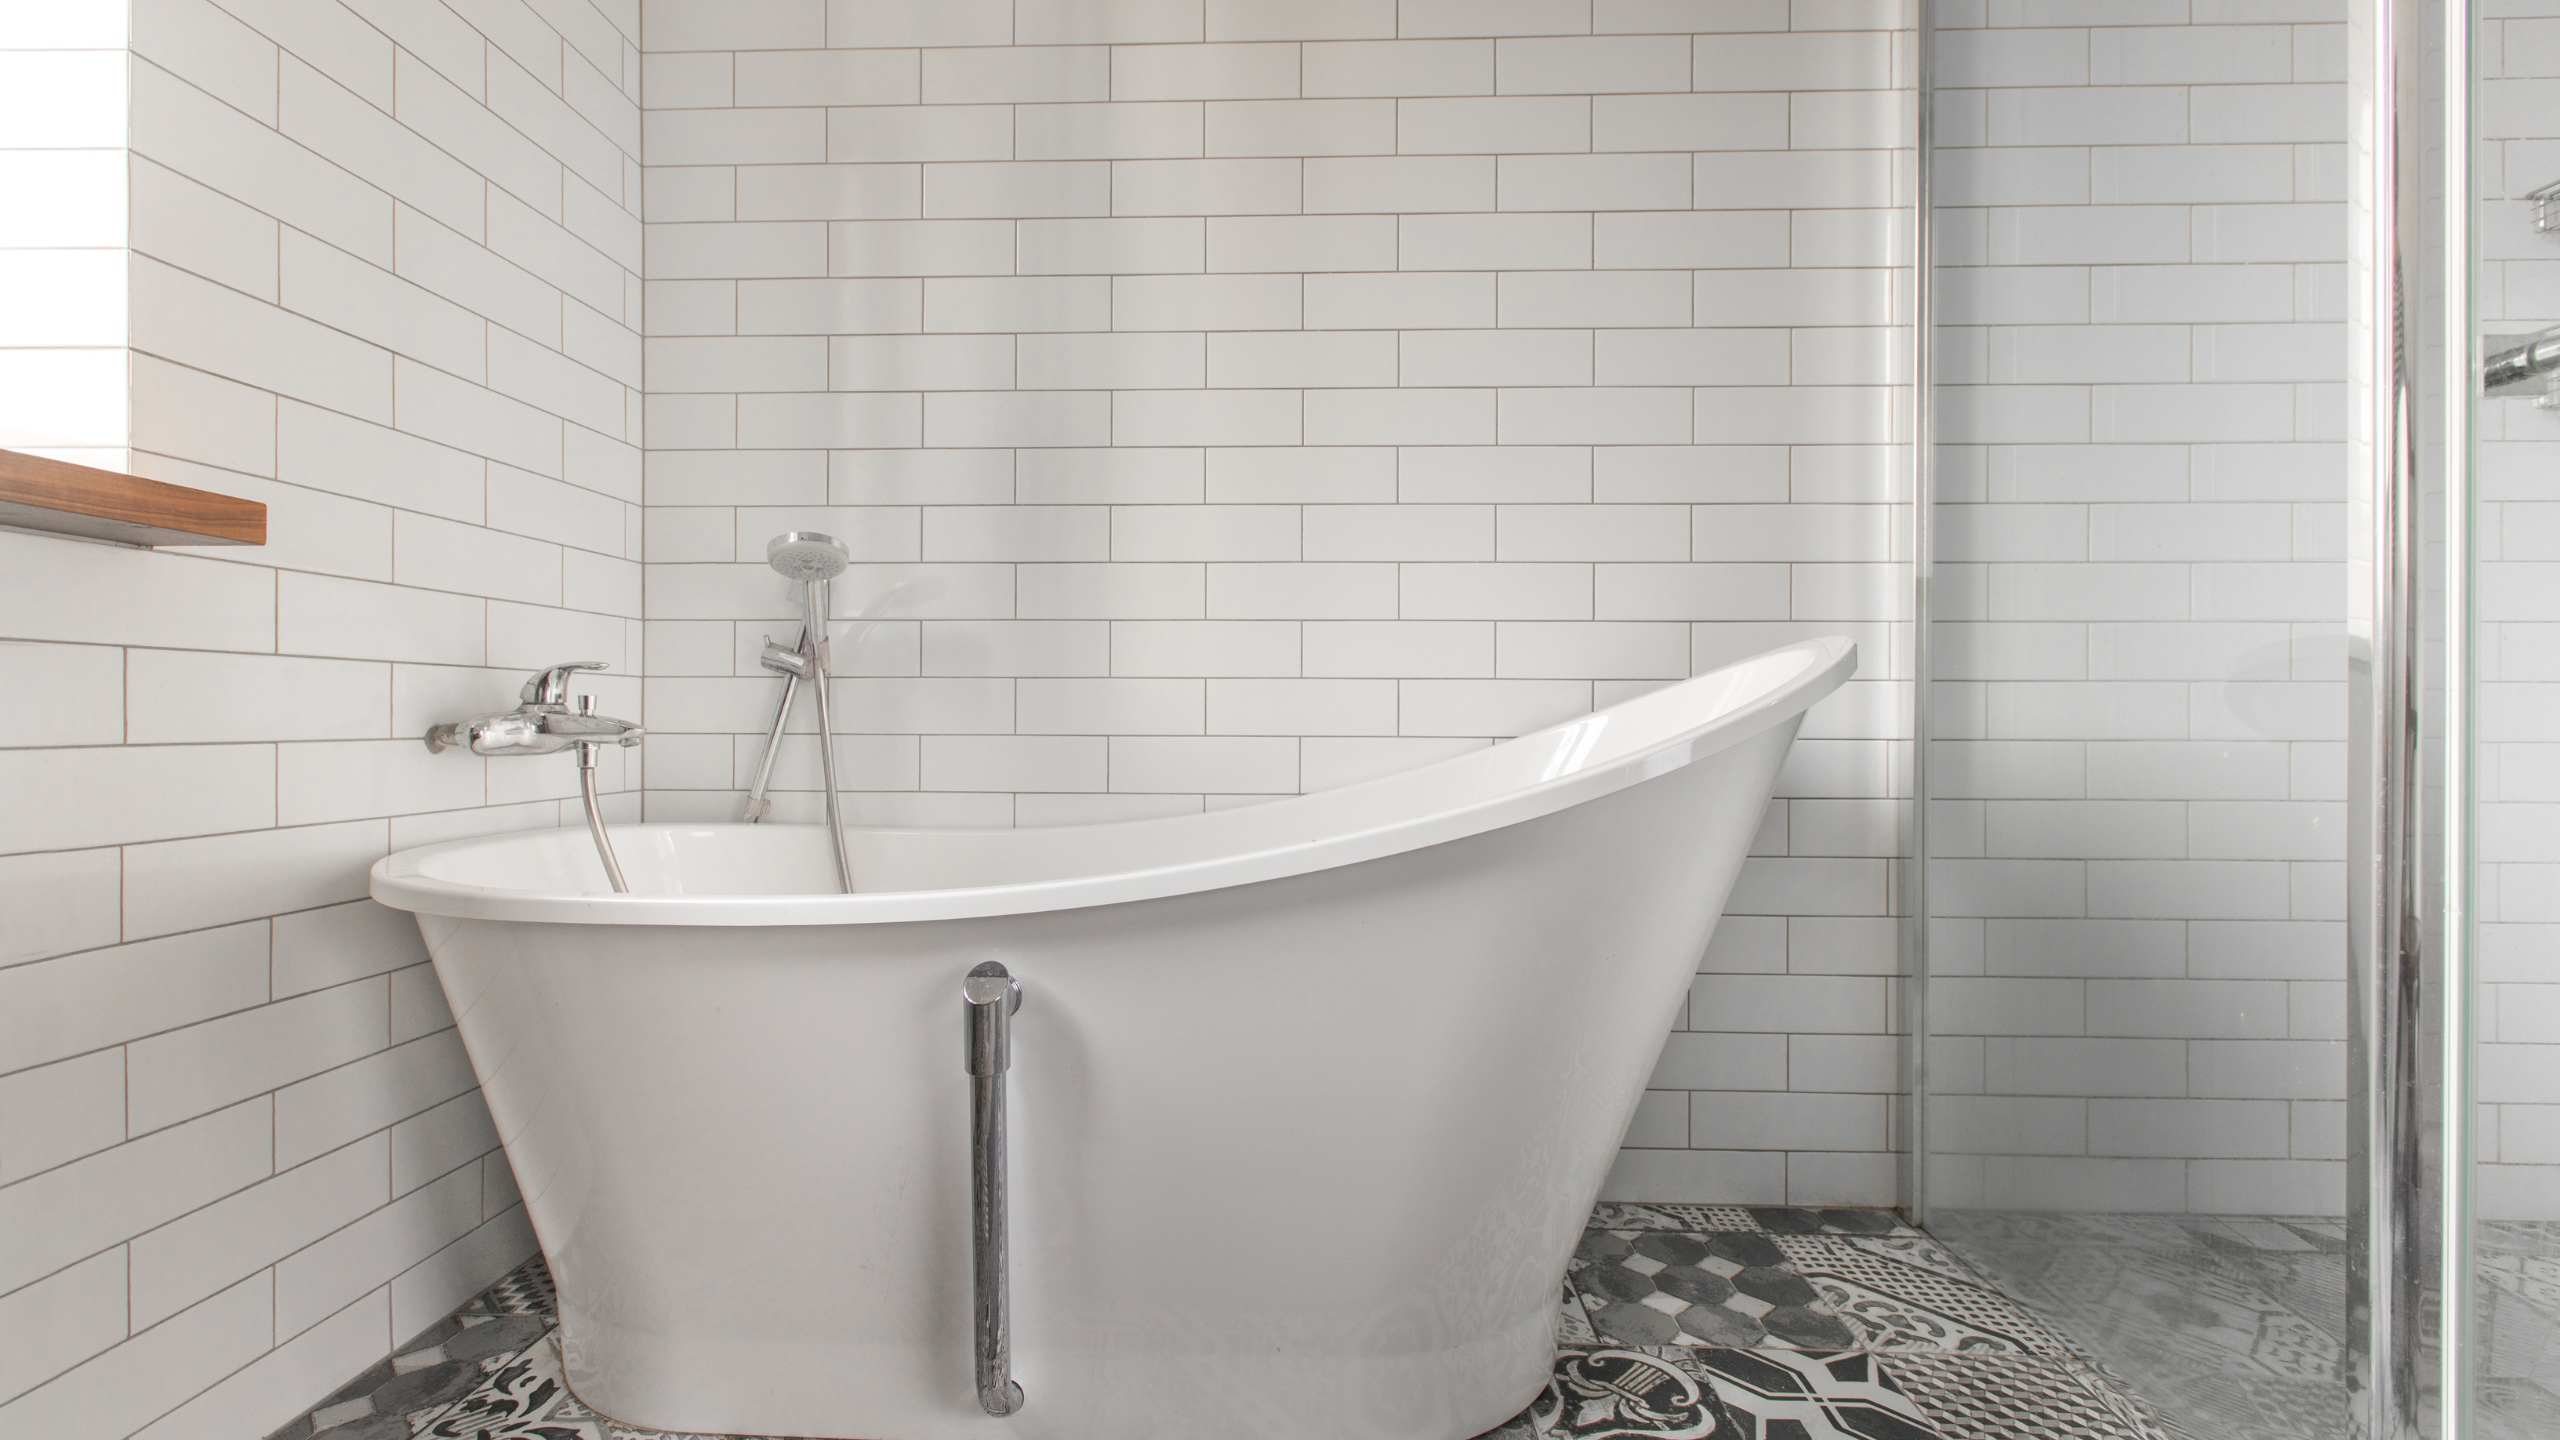
Everyone understands the need to caulk the long seams between the wall and the edges of a bathtub/shower pan, or along the rails of a shower door. However, most people often overlook the smaller seams around escutcheon plates and the various rings or caps concealing the holes where plumbing pipes or faucet valves come through the wall.
Though often ignored, caulking these joints are absolutely vital because otherwise, water can easily seep within them and into the wall. If this happens, the stagnant water in the wall can lead to mold growth, rotting, and it may even leak into the ceiling or floor cavity below the shower or tub.
As for the best caulk to use in a shower, it is definitely a silicone caulk as it is designed for plumbing applications. It has good adhesive properties and it will not only seal cracks, but also hold trim pieces to the wall.
This caulk is often sold in full-size tubes designed to fit a caulk gun. But if you are looking to caulk trims, a smaller squeeze tube will make it easier to apply the caulk. It is best to get caulks with mildewcide as this helps prevent discoloration due to molds, which is almost always a problem in most bathrooms.
Equipment and Materials You Will Need
- Clean rags
- Putty knife
- Utility knife or oscillating tool
- Materials
- Bathroom cleaner
- Pure silicone caulk tube containing mold and mildew prevention additives
- Caulk remover
- Masking tape
- Mineral spirits
- Paper towels
Procedure
Step 1: Clean the Surfaces
- Identify the areas you will caulk and clean it thoroughly. Use a strong brush to scrub the grout. If you are replacing old caulking, remove all of the old caulk and clean the surface thoroughly.
- Then rinse the area and dry it with a clean rag. Alternatively, you can use a hair dryer to speed up the drying process. Make sure to remove all water in the crevices. It has to be absolutely dry. Caulk adheres best to a clean surface, so make sure that the walls and trim are completely clean and dry.
- Clean the surfaces one last time with mineral spirits and dry it once again.
Step 2: Prepare the Caulk Tube
- Be sure to cut the right size for the opening on the applicator tip of the caulk tube as this is the secret to a neat application. Keep in mind that the lower down on the tube you cut, the larger the opening and the caulk bead would be.
- For the trim, a 1/4 to 3/8 inch bead is good enough. You can wipe down the bead to whatever size you like.
- To cut the applicator tip, remove the cap and use a sharp utility knife to cut off the tip at a 45-degree angle. Some caulk tubes even come with markings on the tip indicating where to cut for various bead sizes. Follow this guide if your tube has it.
- The caulk will be easier to apply if it is slightly warm. Hence, you can warm the tube by holding it between your hands for a few minutes, or by soaking it in warm water before cutting the tip of the tube.
Step 3: Apply the Caulk
- Apply two layers of tape opposite each other. The gap between the two dictates how thick or thin the caulk lines will be. Applying tape will ensure that your resulting caulk will be straight.
- Place the applicator tip against the shower surface at a 90-degree angle.
- Apply a small, uniform bead of caulk all the way around each part of the shower trim. It is important to cover the whole seam because water can leak through even the smallest gap.
- Keep in mind that it is important for you to caulk the following shower and tub trim parts to prevent water leak:
- Tub spout
- Faucet handle escutcheons
- Shower valve escutcheons
- Bathtub drain overflow plate
- Showerhead trim (Caulking this part is optional as this area usually isn’t prone to much water intrusion. But if you want to be safe than sorry, caulking this part too is fine.)
Step 4: Smooth the Caulk Bead
- Immediately after applying the caulk, use a wet finger or a damp rag or a sponge to smooth out each bead of caulk. Keep in mind that the goal is to leave a small, neat bead that still fully covers the gaps around the trim. Be sure to be quick when doing this step as the silicone caulk becomes less spreadable pretty quickly, although it takes a long time to fully dry.
- It would depend on your personal preference how much caulk will be wiped away. Some people like to leave fairly large caulk lines which are definitely more conspicuous. For this reason, small, thin beads usually look better as it is less noticeable. Take note that a thin line of caulk is just as effective as a large one as long as there are no gaps.
- Let the caulk cure as directed by the manufacturer. You will see this information in the label of the caulk tub. However, for reference, most silicone caulk usually dries for 24 hours before it is ready for heavy contact with water.
- Finally, remove the tape and there you have it. Neat, straight lines of fresh caulking!
Bathtub reglazing and refinishing is a difficult task to do on your own. It’s also a very messy process that can take days or even weeks to complete.
We at JW Toms River Tub Reglazing know how frustrating it can be when you need bathtub reglazing or refinishing done immediately, but lack the time or resources to get the job done right. That’s why we offer fast and affordable tub reglazing services in Toms River, NJ!
Our qualified technicians will be able to provide you with an estimate for your project within 24 hours so that you know exactly what work needs doing before we begin. Once our team has finished working on your bathroom, you’ll have a gorgeous new tub that looks like it was installed yesterday!
Another Article: Plumbing 101: How to Remove a Tub Drain in Your Home
If there are any areas of concern surrounding your bathtub (cracks, chips, rust spots), don’t hesitate – call us today at (848) 227-9003.